1 Overview
Microsoft has made OAuth authentication with Business Central the preferred security method. This article outlines the steps required to setup OAuth authentication and configure the DynamicPoint EasyEXP365 application to leverage this authentication method.
Authentication to BC through Entra ID requires an app registration in Entra ID, registration of the client ID of that app in BC itself and registration of that app in DynamicPoint EasyEXP365.
2 App Registration in Azure
- Logon to you Azure Portal
- Search for “App Registrations”

- Select New Registration
- Give the registration a logical name, such as “Business Central Web Services for EasyEXP365”

- In the redirect URL select “Web” and define the redirect as https://businesscentral.dynamics.com/OAuthLanding.htm
- Leave all other options as default and click Register.
- Click API permission from the left hand navigation and Add a permission.
- Under the Microsoft APIs tab select Dynamics 365 Business Central

- Select Application Permissions
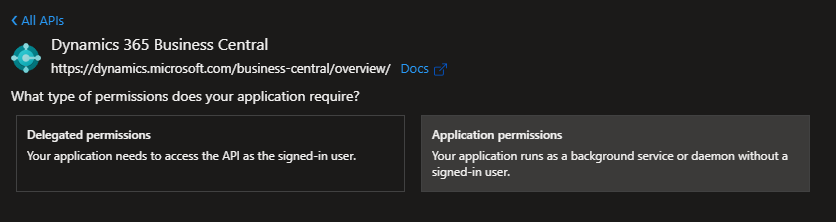
- Check API.Read.Write.All
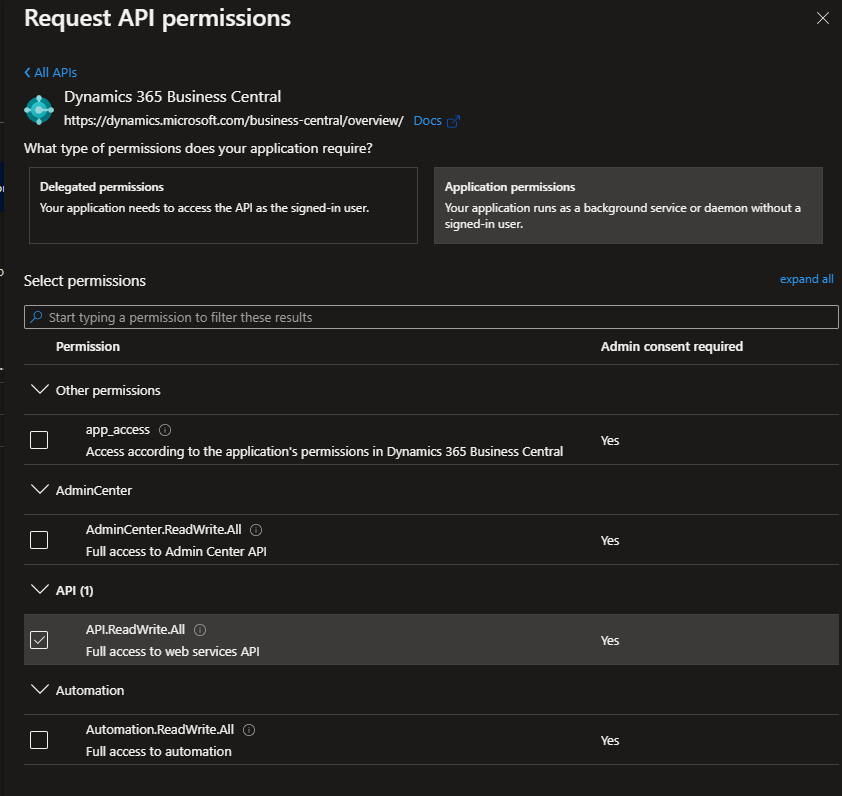
- Click Add Permissions
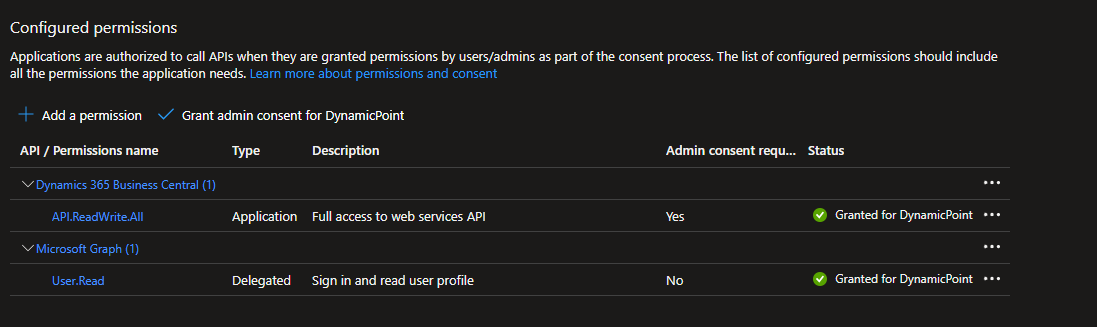
- Click Grant admin consent and click yes to the dialog message

- At this point the permissions of your application should look like this:
- The next step is to provide security to your app. Go to Certificates and Secrets from the left menu and click New client secret:
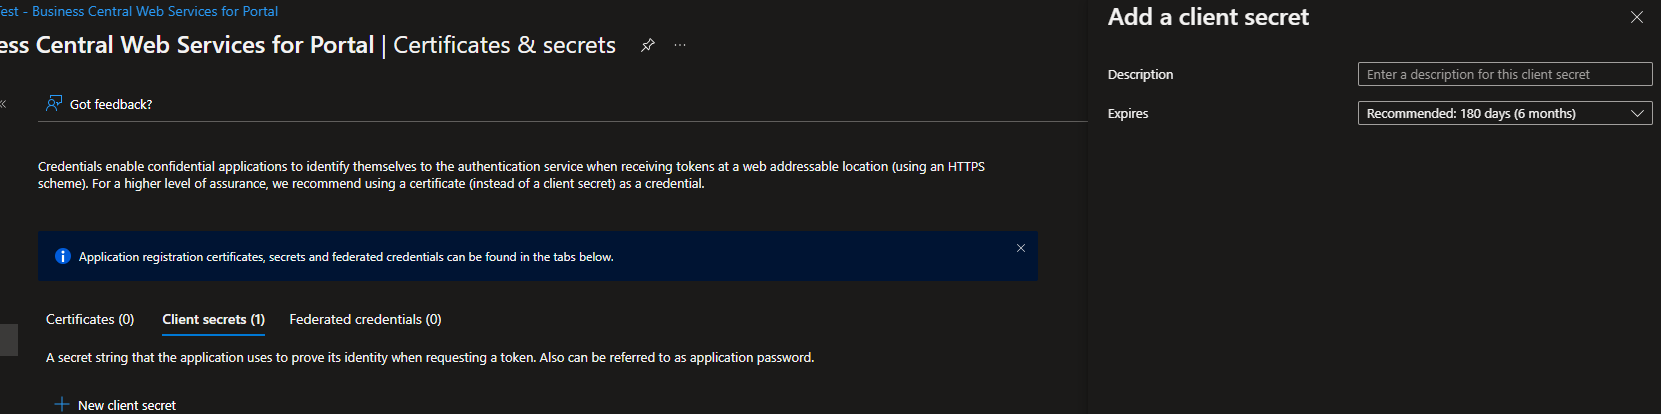
- On the next dialog provide a description of the secret and expiration, then click Add
- Make sure you copy the new secret immediately, as later it will not be available for copying:
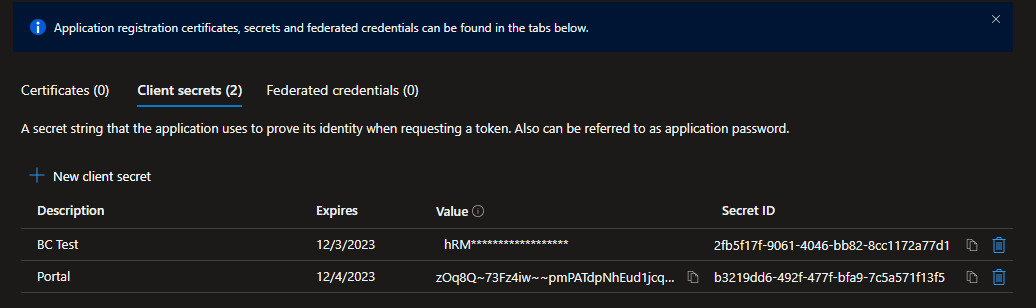
- If you lose the secret, you will need to create a new one and register in the client application.
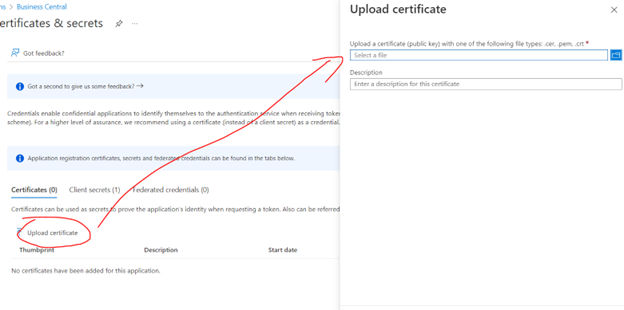
- Alternatively, you can register a certificate to authenticate with the app (you will need the .cer version of the cert here):


3 Business Central Registration
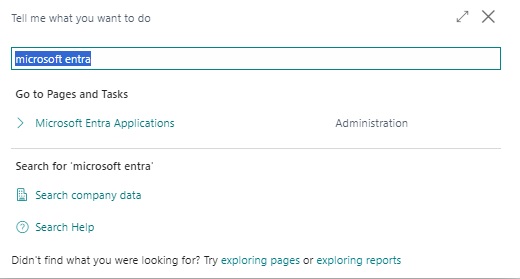
- Log in to Business central application, click on the search icon and type Microsoft Entra Application.
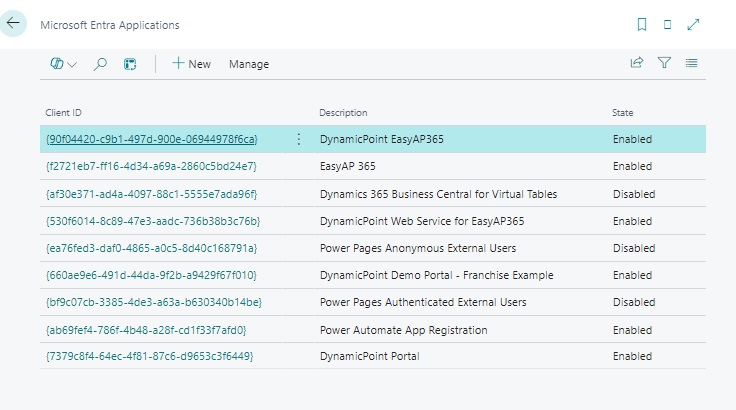
- Click Microsoft Entra Application from the results. On the new dialog click New
- The Entra Application Card appears:
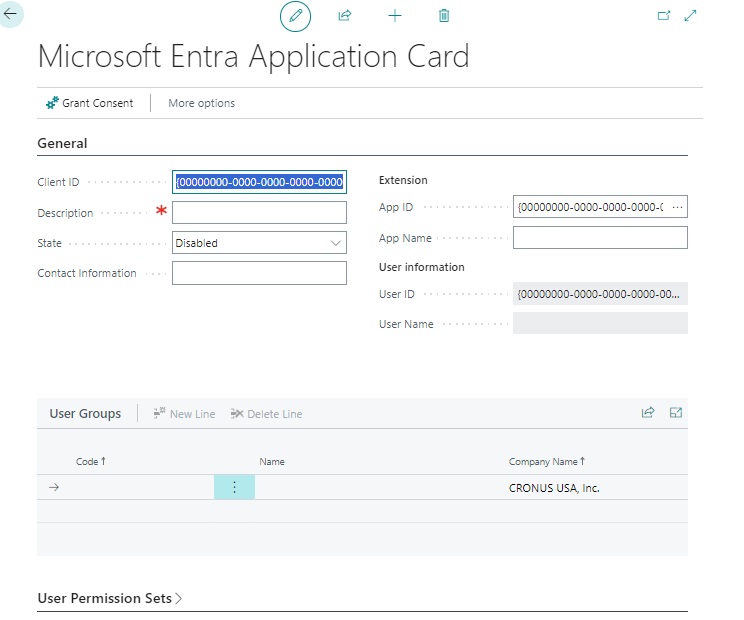
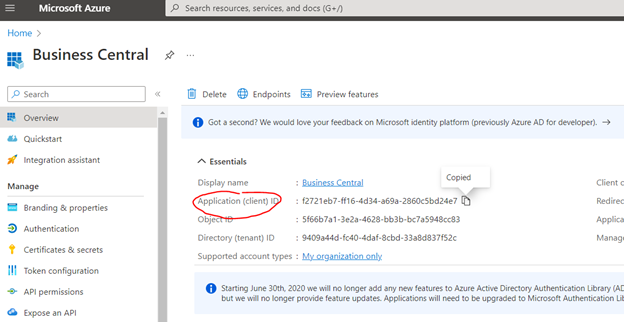
- You need to get the Client ID from the app registration that was just created. Go to Overview from the left menu and copy the Application (Client ID):
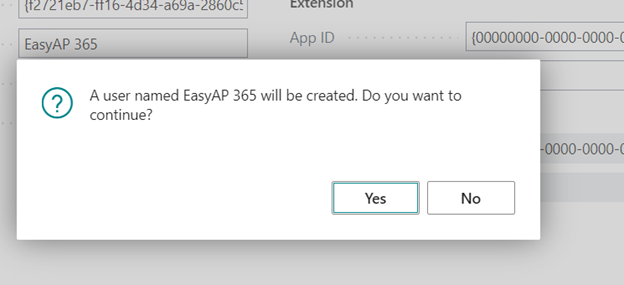
- Paste it into Client ID. Set a Description and change the State to Enabled. On the next dialog click Yes:
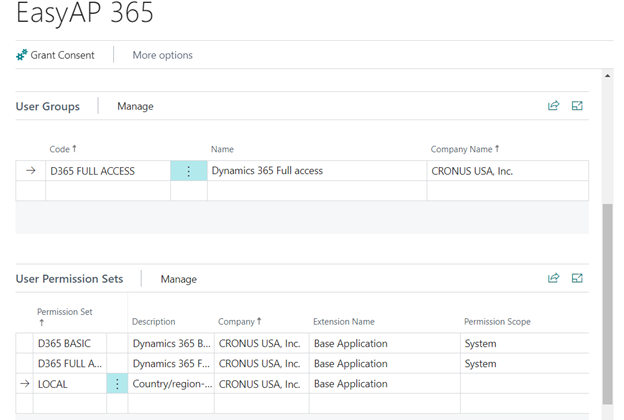
- Assign the appropriate permissions. For this example we grant full access.
- Now permissions should look like this (this can be changed based on your desired EasyEXP365 functionality):
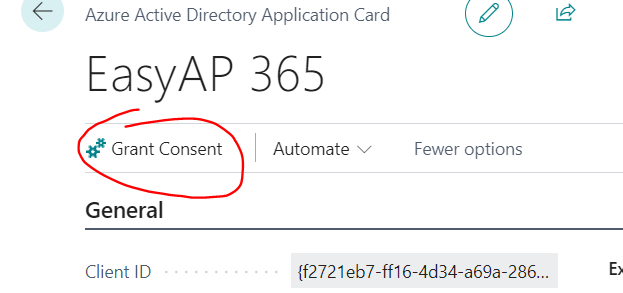
- Click Grant Consent to provide consent to the app registration in BC
4 EasyEXP365
In EasyEXP365 you can configure credentials either directly in the application as custom credentials or you can create predefined credentials in Tenant Admin and pick them in the application. This can be useful in cases when a client uses more than one DynamicPoint product and connects from them to the same BC instance. This section will cover the configuration directly in the application.
- Logon to the application as an administrator
- Click the gear in the upper right corner and select ERP settings

- With the Security Settings section, under Credential Type, select Azure AD Application
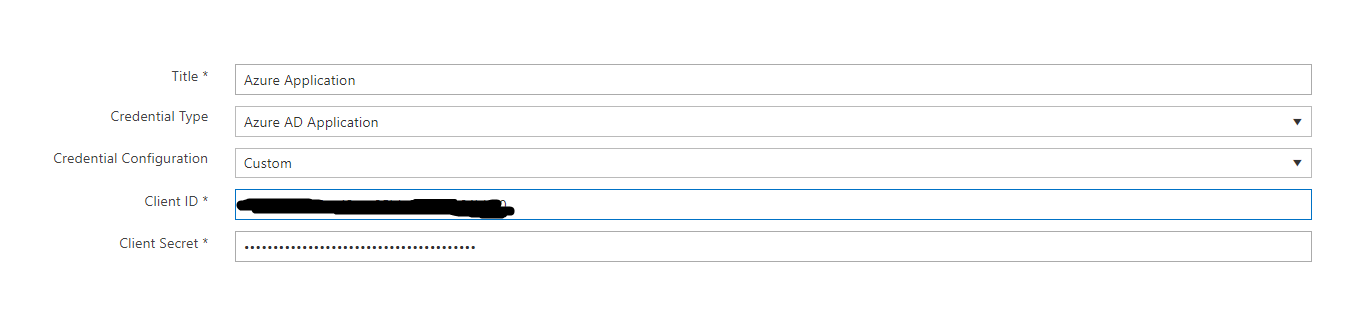
- Complete the following fields:
– Title
– Credential Type: Azure AD Application
– Credential Configuration: Custom
– Client ID – With the value copied from the registration
– Client Secret – With the value copied from the registration
- Click test and ensure it is successful
- Click save