1 Overview
Microsoft has made OAuth authentication with Business Central the preferred security method. This article outlines the steps required to setup OAuth authentication and configure Power Automate for communication to ODATA web services in BC.
2 App Registration in Azure
- Logon to you Azure Portal
- Search for “App Registrations”

- Select New Registration
- Give the registration a logical name, such as “Business Central Web Services for Power Automate”

- Leave all other options as default and click Register.
- Click API permission from the left hand navigation and Add a permission.
- Under the Microsoft APIs tab select Dynamics 365 Business Central

- Select Application Permissions

- Check API.ReadWrite.All

- Click Add Permissions
- Click Grant admin consent and click yes to the dialog message

- Click on the left hand navigation to Authentication

- Select to add a platform

- Select Web

- For the Redirect URL, enter “https://businesscentral.dynamics.com/OAuthLanding.htm”

- Click Configure
- Click on the Overview page and copy the Object ID. Save it to a notepad such that it is available in the future steps.

- Open Windows PowerShell
Run the command: Connect-AzureAD

- Replacing the Object ID captured in the previous step, run the following command:
$startDate = Get-Date
$endDate = ’12/30/2299′
$aadAppsecret01 = New-AzureADApplicationPasswordCredential -ObjectId <enter object id> -CustomKeyIdentifier “Power Automate Secret” -StartDate $startDate -EndDate $endDate

- Lastly run the command: $aadAppsecret01
- Copy the Value of the key and save it to Notepad
- Click back on Overview from the left hand navigation and copy the Application (client) ID as well as the Directory (tenant) ID. Save them notepad such that they are available in the next step.


3 Business Central
- Logon to the Business Central as an administrator
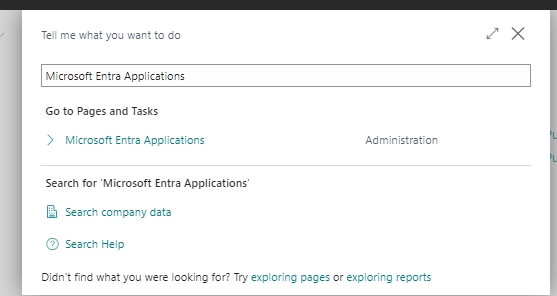
- Search for Microsoft Entra Applications
- Click New
- Paste in the Client ID that was copied from the Azure AD application registration steps and give it a logical description such as “Power Automate App Registration”
- Mark the state as Enabled and accept the message

- For the user group, assign D365 BUS FULL ACCESS

- Click the Grant Consent button


Sign in and accept the permission request

4 Power Automate
- Logon to Power Automate and create an http action
- Select the Authentication as Active Directory OAuth
- Copy in the Tenant ID and Client ID that was saved earlier
- For the Audience specify “https://api.businesscentral.dynamics.com”
- Select Credential Type as Secret
- Copy in the secret that was saved earlier

