1 Overview
This document provides an in-depth description of how to deploy the DynamicPoint Customer/Vendor Portal report printing functionality for Dynamics NAV.
2 Report Printing Deployment
The following will outline the deployment/configuration of report printing functionality. When installed, the user is able to print a range of NAV reports from the Customer/Vendor portal.
Navision
- Open Microsoft Dynamics NAV Development Environment.
- Load Object Designer from Tools menu
- Click Code unit button in Object Designer. Click Import from the File menu. Select the file CUWebReports.fob from deployment folder provided.
- Compile the Code Unit provided and publish it in the NAV environment.
- Verify you can browse the SOAP URL of the code unit internally and externally.
IIS Configuration
- Start IIS management console
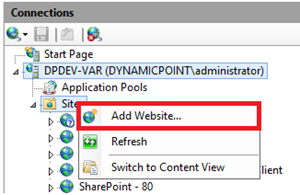
- Create a new web site by right-clicking on Sites and select Add Website
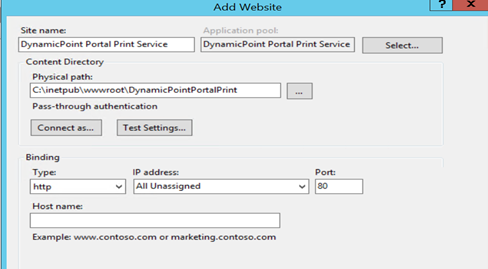
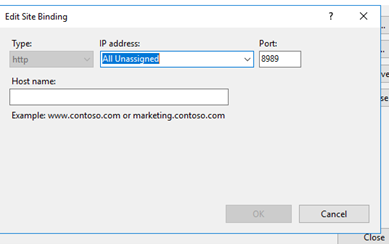
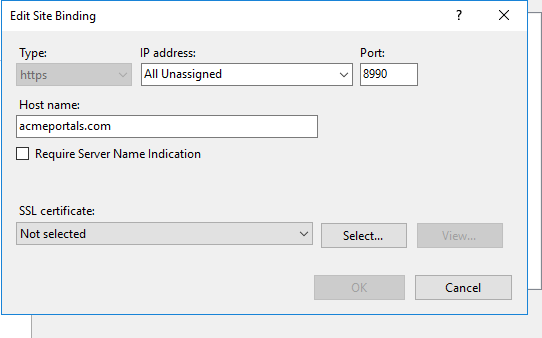
- Specify the site name, physical folder, and bindings for the new site: Use port 8989 if available as DynamicPoint standard internally and 8990 for external access. Let administrator at client know we are using that port.
Internal – No host name required
* Make sure to test the settings to ensure the site can cannot to the virtual directory. If this doesn’t work, specify a “connect as” account that has access.
Service Deployment
- Extract and copy the components of the DynamicPointPortalPrint.zip to the new site’s virtual directory.

Print Service Configuration
- The service has the following keys that need to be configured in the web.config file:

- NAV.Username – Login in the NAV server where the Print code unit is deployed and exposed as a web service.
- NAV.Domain – Domain for the login in the NAV server
- NAV.Password – Password for the login in the NAV server
- NAV.ReportService – Url of the web service under which the code unit is exposed. Please note there is a placeholder {0} for the company name. That needs to be present in the URL so the current company name can be dynamically supplied to the URL by the Portal. Address is essentially the SOAP URL from the published web service or code unit. This Address needs to be accessible from the outside so that the Portal can access the reports.
File Share Folder
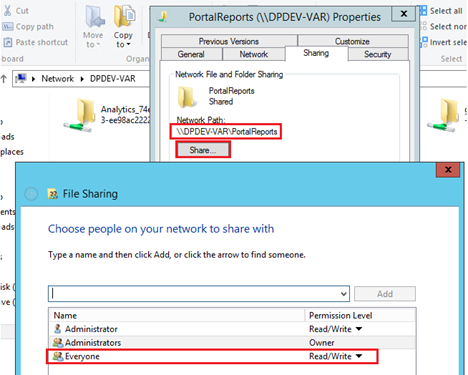
A folder needs to be created, typically on the NAV server, where the reports will be generated (This cannot be in the virtual directory previously created in the above step).
This folder must be shared and Read/Write permissions must be provided:
- For the account under which the Print web service app pool is running
- For the account under which the NAV Windows service is running
- For testing Everyone can be provided Read/Write access
Troubleshooting
- Test the service by navigating to the url of the service in a browser. The url is a combination of the binding for the target web site and /Service.asmx. For instance: http://localhost:8989/Service.asmx?wsdl or http://localhost:8989/Service.asmx This uses port 8989 in the example but whatever port you used to set up in IIS Configuration Step 3 is what you will use here. When you see this come up locally you know you have set up the report server correctly.
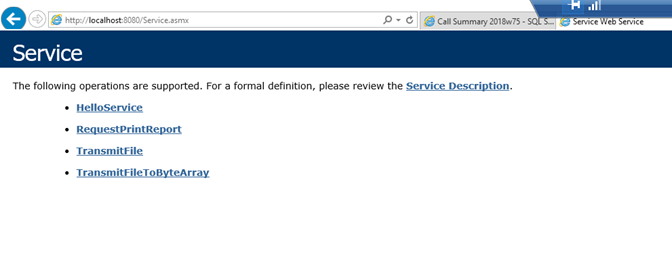
Important: For security reasons, when deploying to production servers, the ?wsdl option is disabled, so no one can read the parameters and the methods available on the service, as it is publicly available.
For troubleshooting, if the ?wsdl option is needed, it can be enabled by editing the web.config file of the service and removing the following tag.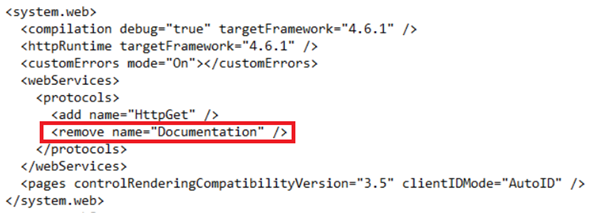
3 Excel Report Generation
By default, the report service anticipates a pdf file format. If an Excel report generation is desired, the following parameter must be added to the report service configuration. Parameter name “Internal.FileType” of type Constant, value should be .XLSX
Any report services that do not have this parameter will continue to produce PDF files by default.

