Portal Site Creation
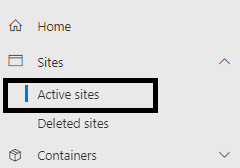
From within the SharePoint admin center, navigate to the Active Sites Section.
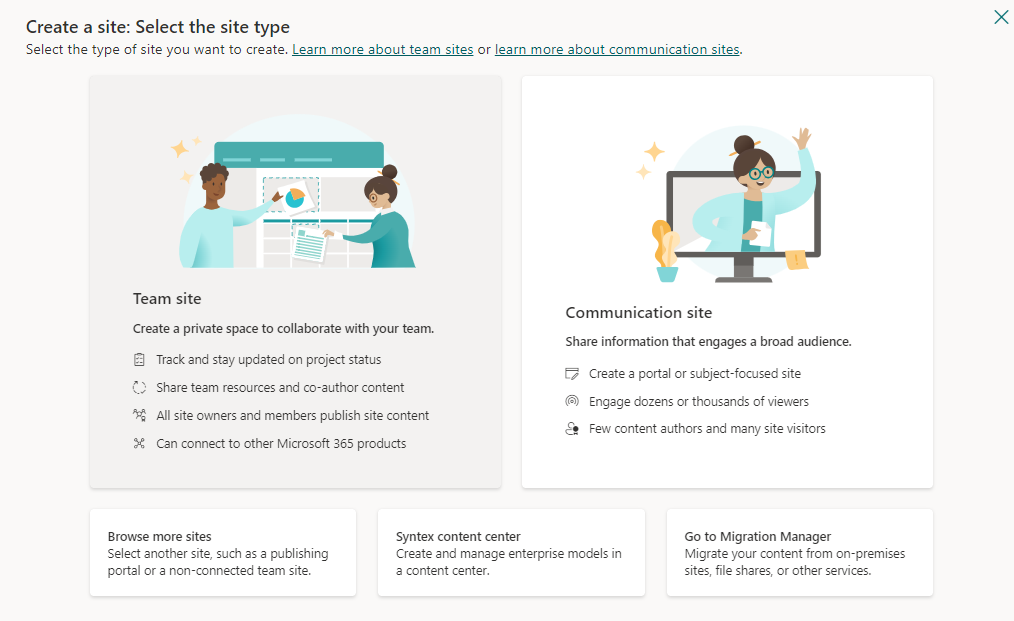
For a portal site, a Communication site is strongly recommended, as it is styled for external collaboration and doesn’t include a Microsoft Team associated group. A Teams site can be used if this is desired for some reason, typically an internal facing portal. Alternatively, the app can be added to any existing site/subsite if desired based on an existing site hierarchy.
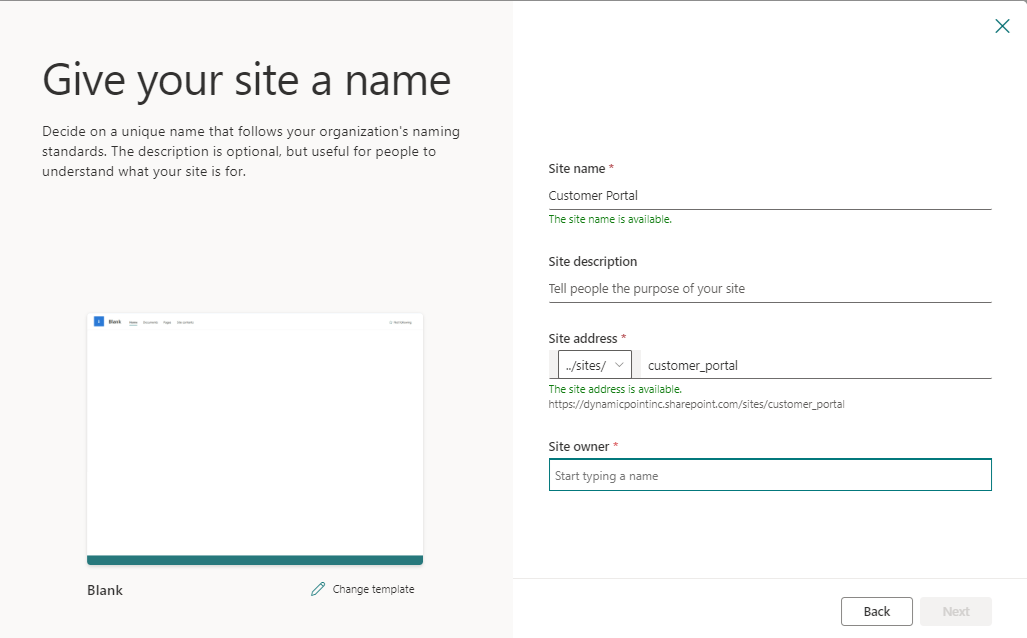
Pick a template if you’d like or select to use the Blank template. The Blank site is recommended if the portal will be configured to your design specification. Give the site a name, specify an address and owner, and save it. It is important to consider the address and define something that is descriptive (such as portal) as this will be visible to the portal users.
Add the App
On the application site browse to <Portal Site> -> Site Contents-> New App.

Filter on those within your organization.

Select DynamicPoint Portal App and “Trust it” if prompted

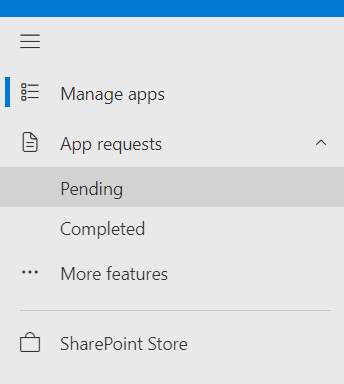
If prompted that “You can’t add this app here,” select “Find out why” and request approval.


The request can be approved from the SharePoint admin center, in the App Catalog -> App Request.
After the app has been added, when accessing the portal, the user will be presented with the license upload page:
