1 Overview
Payments can be associated with any service in the portal such that a credit card or ACH payment can be made. The DynamicPoint portal app integrates with leading payment processors to provide this functionality. The typical use of this feature is for customers to pay invoices, but it can be used with any service in which payments are to be accepted.
2 Configuration
Payment Settings
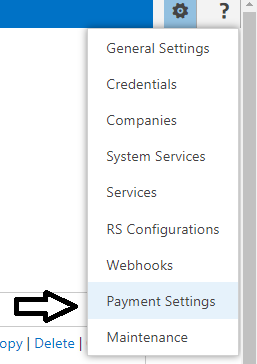
- Navigate to Portal application, then go to Payment Settings.
- The following fields are available for the configuration of a payment service integration.
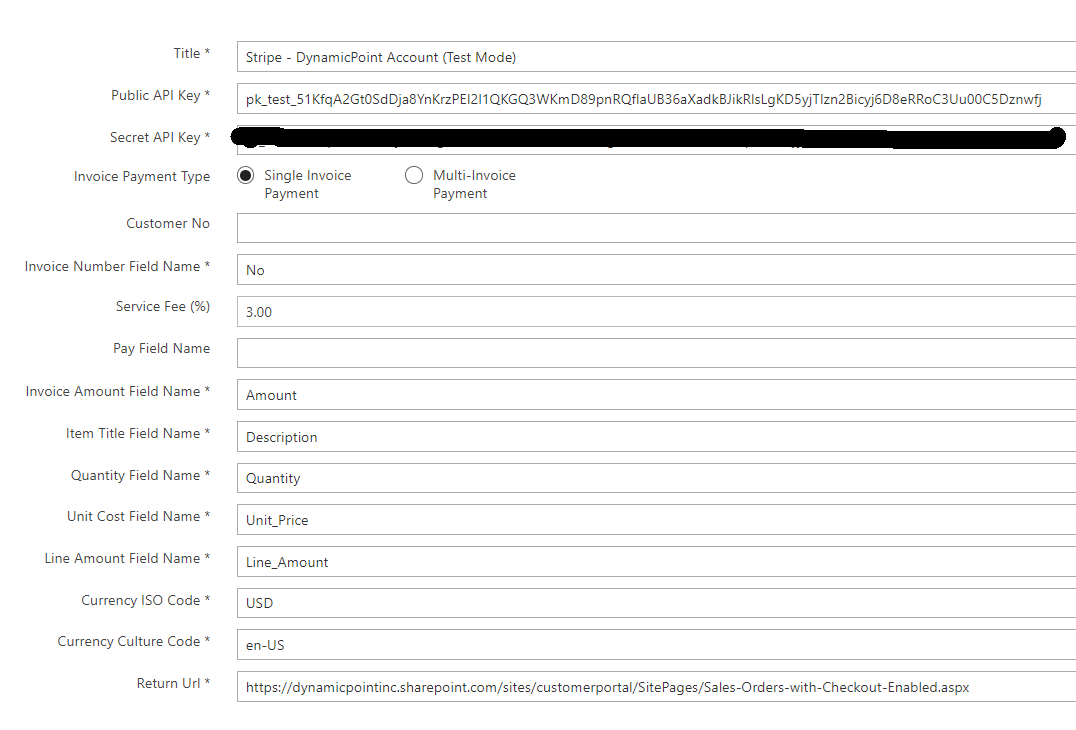
- Title – The name of the payment service you are configuration an integration with.
- Payment Processor – Select from a list of existing payment processor integrations.
- Public API Key – The API key that is provided from the payment processor.
- Secret API Key – The Secret API key that is provided from the payment processor.
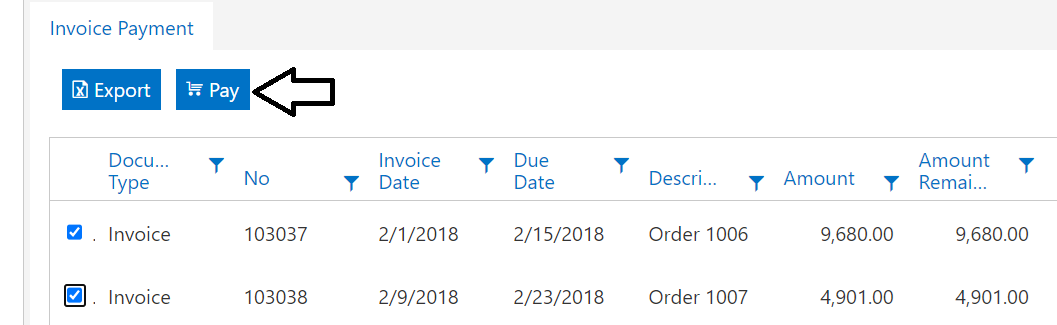
- Invoice Payment Type – This setting determines if you are going to allow portal users to select multiple invoices for payment, or just a single one.
- Customer No – The internal name of the service field that contains the customer number.
- Invoice Number Field Name – The internal name of the service field that contains the invoice number.
- Service Fee (%) – If you’d like to include a service fee for accepting credit card payments, configure the percentage in this field.
- Pay Field Name – This field must be a Boolean field that is updated when a payment is made. This will allow the service to be filtered to exclude paid transactions.
- Invoice Amount Field Name – The internal name of the service field that contains the invoice amount.
If the Invoice Payment Type is set to Single Invoice Payment, then additional fields will be available to populate the line items on the credit card payment. These fields are not needed for Multi-Invoice Payment as the line items will be the invoices.
- Item Title Field Name – The internal name of the service field that contains the item title field.
- Quantity Field Name – The internal name of the service field that contains the quantity field.
- Unit Cost Field Name – The internal name of the service field that contains the unit cost field.
- Line Amount Field Name – The internal name of the service field that contains the line amount field.
The following fields are available for both single as well as multi-invoice payment.
- Currency ISO Code – The currency code for the transaction. For US Dollars use “USD”.
- Currency Culture Code – The currency culture code. For US English use “en-US”.
- Return URL – The URL that the payment service will return to after complete. This is typically the SharePoint page on which service is configured.
Service Configuration
After the payment settings have been configured, it must be associated with an existing service.
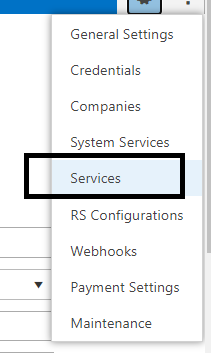
- Navigate to the service configuration section.
- Edit the service you want to associate with the payment settings.
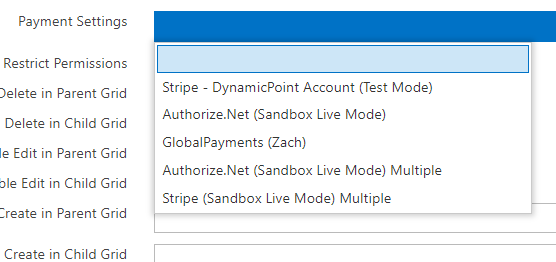
- Scroll down to the field titled “Payment Settings” and select the configuration you saved in the previous step.
Webhooks
If you want the payment to automatically create a transaction in the ERP after it is made in the portal, a Power Automate workflow must be created that generates this transaction. This workflow will be dependent on the ERP you are using and the transaction that you want reflected by a payment. After the workflow is configured it must be associated to the payment action. This is done using a webhook.
- Navigate to webhooks
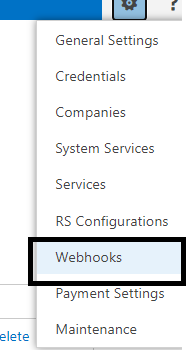
- Details of how to configure webhooks can be found in the “System Services, RS Config and Webhooks” knowledgebase.
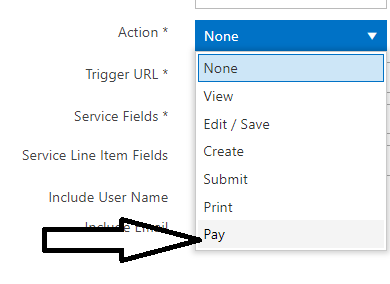
- Ensure to select the Pay action in the webhook configuration.
3 Testing
After the configuration is complete, you will see a pay icon next to the line item, or at the header, depending if multiple or single payment was configured.