1 Overview
This article covers the implementation of a non-ERP integrated EasyAP365 implementation.
2 Azure App Registration
In order for the EasyAP365 app to be able to authenticate to SharePoint for a vendor list, an Azure App Registration is required. Access to vendors is implemented over OData and uses OAuth 2.0.
- Logon on to the Azure portal
- Search for App Registrations
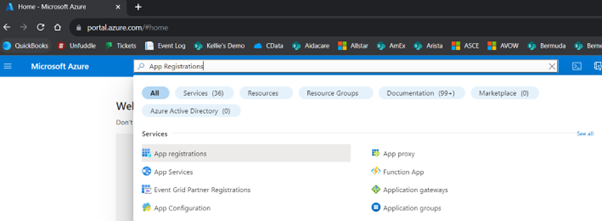
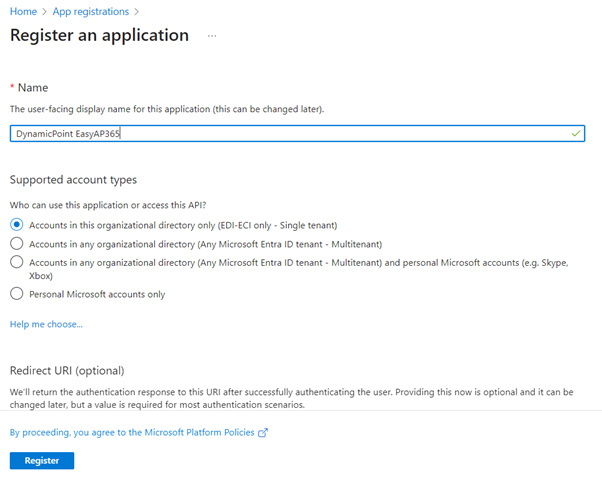
- Select to add a new app registration

- Give the registration a name, such as DynamicPoint EasyAP365. You can skip adding Redirect URLs.
- Navigate to the Certificates and Secrets section
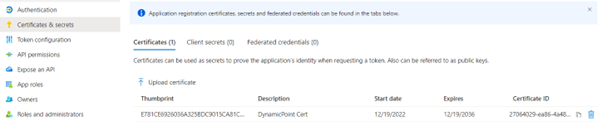
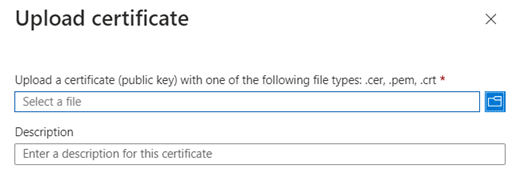
- Upload a new certificate. It is best to use one with a long expiration date. One can be found here.
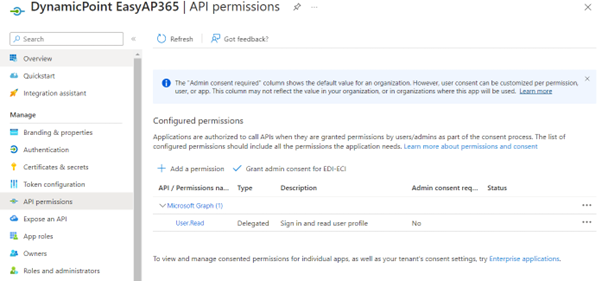
- Navigate to the API Permissions section
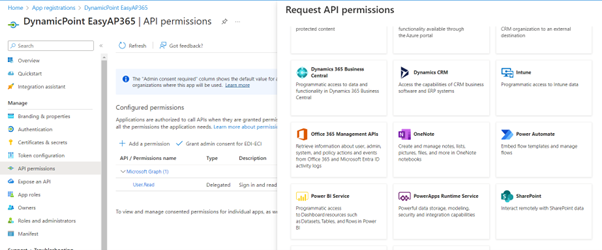
- Add a new permission and select SharePoint
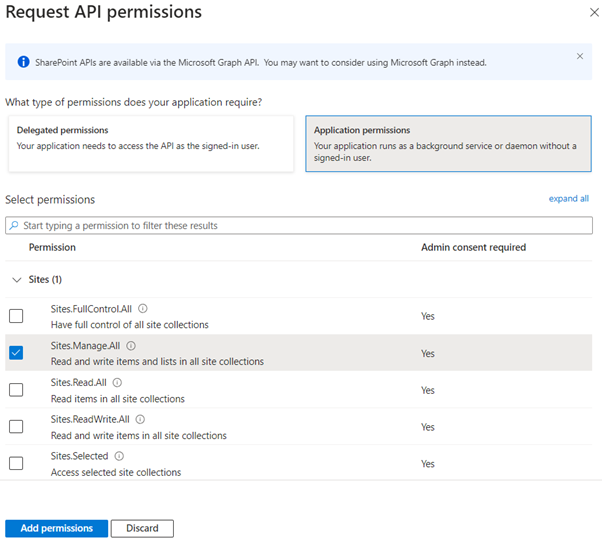
- Select Application Permissions and pick Sites.Manage.All
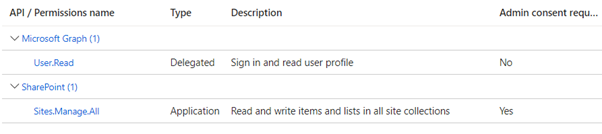
- Permissions should look like this
- On the overview tab take note of the Application ID and Directory ID. Provide to DynamicPoint for tenant configuration.


3 EasyAP365 Settings
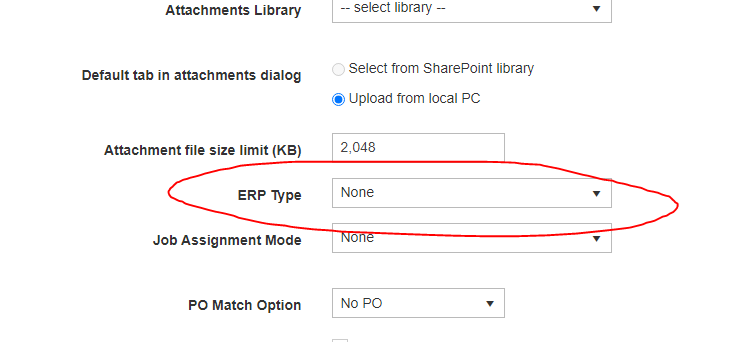
General Settings Page
On General Settings page set ERP type to None.
ERP Settings Page
The following Service URLs settings must be configured in the ERP settings section to connect to the vendor list.
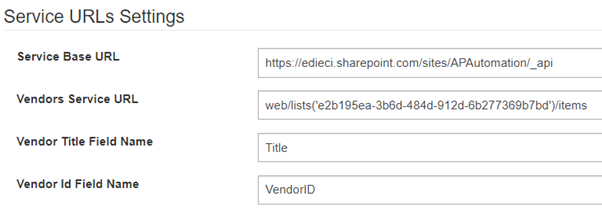
Fields
- Service Base URL
The ODATA URL of the SharePoint list. It will be in the form form: http:[host]/sites/[SharePointSite]/_api
- Vendors Service URL
The Vendor service URL is also special in case of SharePoint list, it requires the GUID of the SharePoint list containing the vendors. To get the guid for the list you can navigate to the List Settings page and copy the GUID from the URL.

- Vendor Title and Vendor ID Field Names
Title and ID fields represent the fields in which we can find the name of the vendor and the ID of the vendor respectively. In case of SharePoint, these are the internal names of the fields in the list.